Equipment
Paint fill 101

By GolfWRX member HuckleBogey_Finn
To see the original thread the viral discussion in the forums click here
As promised, after much trial and error I believe I have found a very good way to paint fill golf clubs. I will try to be as detailed as possible and I am including a few pics. They were taken with my iphone so the pics arent great, but I am extremely happy with the results. I have tried many paints, solvents and dilutes and this is by far the best combination I have found. I feel anyone can do this. I am sure there are other ways to get good results but this is my preferred way
I appreciate constructive criticisms and feel free to ask questions.
I went with a SF Giants color scheme here. All of you dodger fans can suck it 
First you need the tools. In this example I used Tamiya color paint in smoke, clear orange, clear red, and clear yellow. I also used testors model enamal for the top sight line. You will also need tal strip paint stripper, acetone nail polish remover, non-acetone nail polish remover, 91% rubbing alcohol, q-tips, toothpicks, towels, lint free rags, gloves (you don’t want paint stripper on your fingers!) an old toothbrush and PATIENCE!
To see the original thread the viral discussion in the forums click here

First thing you need to do is get rid of all the original paint. With a q-tip apply a liberal amount of tal strip to all painted areas. Wait 5-10 minutes and you will see blobs of paint bubbling out of the spaces.


To see the original thread the viral discussion in the forums click here
After all of the paint has bubbled out grab the toothbrush and in a sink you dont mind getting stained (or outside with the garden hose) scrub and rinse out all the spaces that had paint in them. The paint should come right out. Sometimes you may have a few remnants hanging around. If so reapply the stripper to these parts until you are left with only bare metal.


To see the original thread the viral discussion in the forums click here
Now take your acetone and give the whole head a good wash scrub. This will remove any oils or remnants of stripper and give you a nice clean surface for the paint. Let it all dry out and now its time to get to painting!
I first use a q-tip to apply a little of the rubbing alcohol to the spaces I’m going to paint. This thins the paint slightly to allow a nice glassy finish when it dries without bubbles. You just need the slightest sheen, not a puddle. This takes practice and it took me a few tries to get right. Now with a toothpick dipped in the paint start applying the paint into the spaces. The paint should “travel” to fill the spaces. If you go outside the lines a little bit thats ok, but start light then work your way thicker. When the paint starts to dry you will get a good feel for how it will finish. If you dont like the opacity, start over. Dont apply a coat over the first.
To see the original thread the viral discussion in the forums click here


The topline of the Kombi s was tough because of the angle. I decided on gloss white here for function over form.

To see the original thread the viral discussion in the forums click here
So now after all the paint is applied (depending on angles and position you may have to wait to do certain sections, but I recommend holding off on clean up until you are all done) you are going to have some over paint. No worries. Just let it all dry. This takes a while. Heat will help acrylic paints, but enamels only dry by oxidation and that takes time. I wait overnight.
After all the paint is dry grab a lint free cloth or used t-shirt and dip it into the non acetone remover. I use the non acetone here because it does the job without the fear of stripping the paint in the grooves. Using light pressure rub the moist rag over the over painted areas making sure not to get the cloth in the painted grooves until all the unwanted paint is gone.
Now you have a DIY custom club. The beauty of this is if you arent totally happy you can do it as many times as you want.
Enjoy the final product.


To see the original thread the viral discussion in the forums click here

At GolfWRX, we are a community of like-minded individuals who all experience and express our enjoyment of the game in many ways.
It’s that sense of community that drives day-to-day interactions in the forums on topics that range from best driver to what marker you use to mark your ball. It even allows us to share another thing we all love – buying and selling equipment.
Currently, in our GolfWRX buy/sell/trade (BST) forum, @Putt4Dough is selling some prototype wedges from Vokey Wedgeworks. These include a 54 degree wedge with the M grind and a 60 degree wedge with a T grind.

From the listing:
(1) Titleist Vokey Proto Wedge 54M with a Tour Issue DGS400 shaft and Golf Pride Tour Velvet (logo down). Standard length, lie, and loft. BB&F ferrule. Raw wedge in good condition. No initials. Price is $200 shipped. Buy both wedges for $380 shipped.
(2) Titleist Vokey Proto Wedge 60T with a KBS Tour 130X shaft and Golf Pride Tour Velvet. Standard length, lie, and loft. Raw wedge in good condition. No initials. Price is $200 shipped. Buy both wedges for $380 shipped.
To check out the full listing in our BST forum, head through the link. If you are curious about the rules to participate in the BST Forum, you can learn more here: GolfWRX BST Rules.

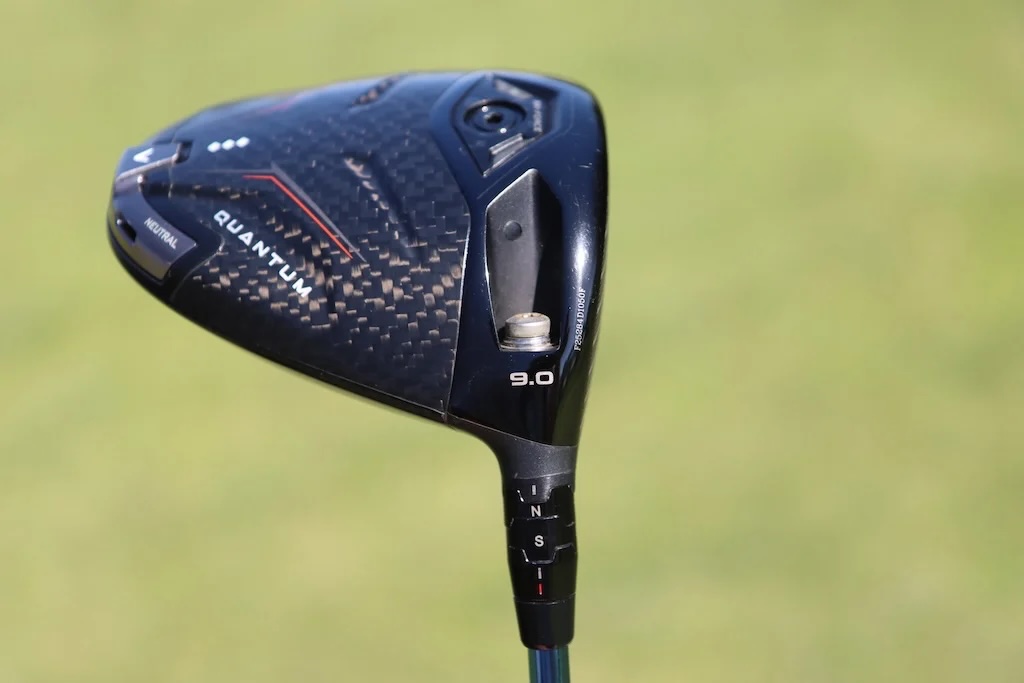
Driver: Callaway Quantum Triple Diamond (9 degrees)
Shaft: Project X HZRDUS Smoke Blue RDX 60 TX
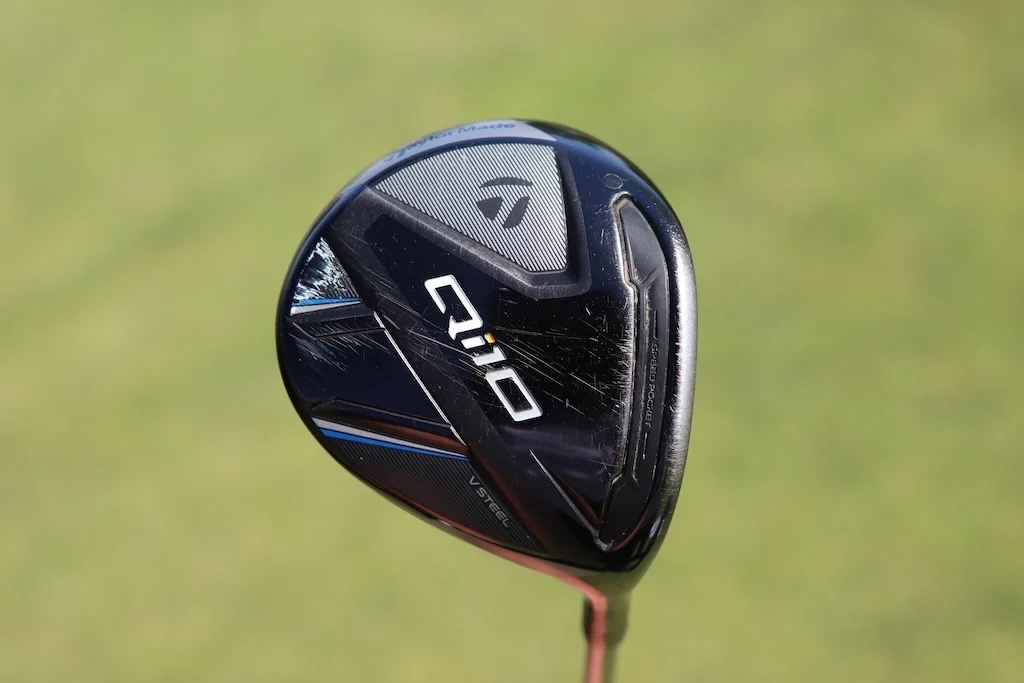
3-wood: TaylorMade Qi10 (15 degrees)
Shaft: Project X HZRDUS T1100 70 6.5
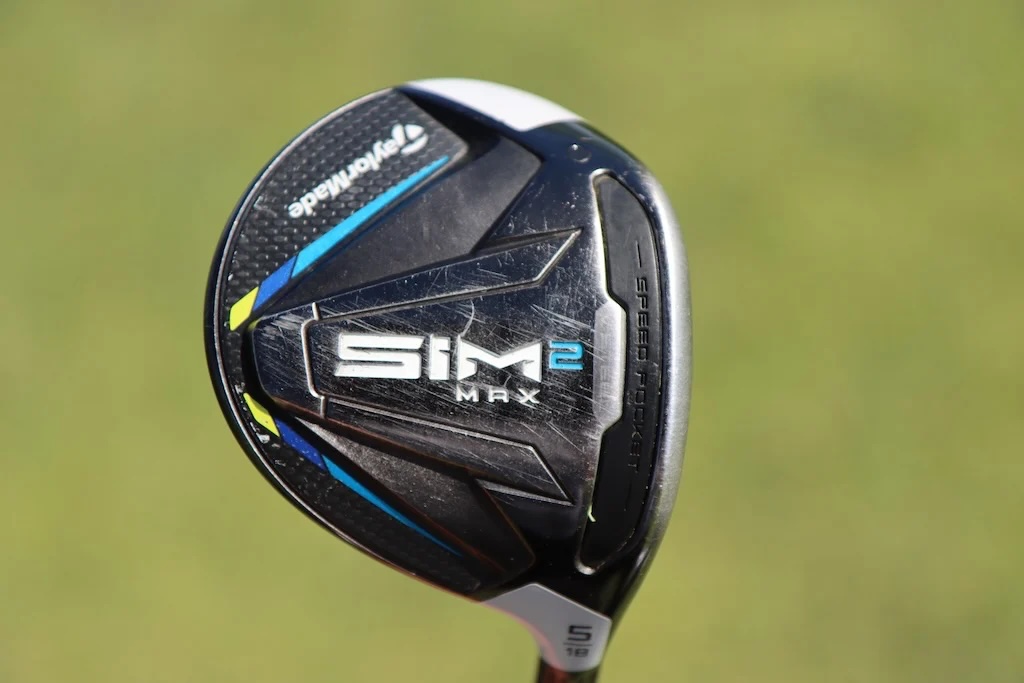
5-wood: TaylorMade SIM2 Max (18 degrees)
Shaft: Project X HZRDUS Smoke Black RDX 80 TX
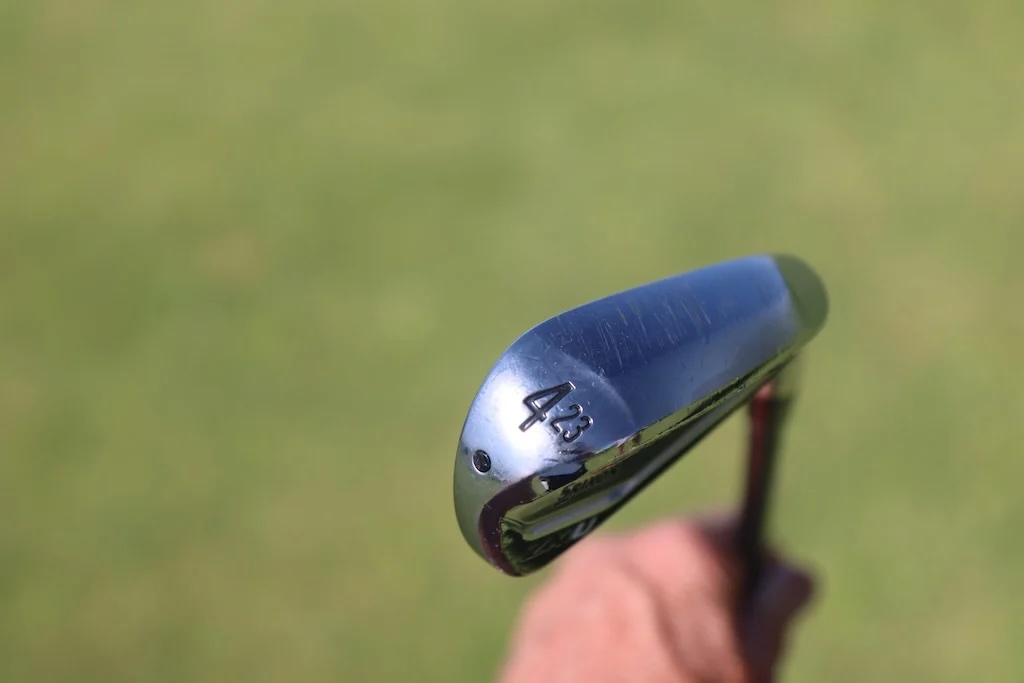
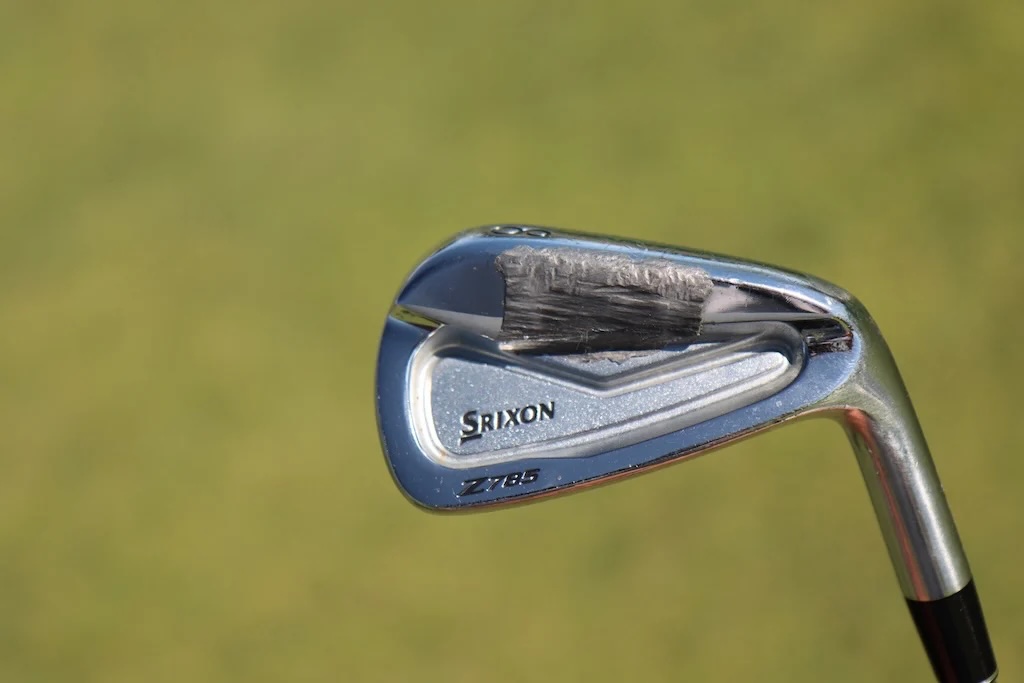
Irons: Srixon ZXiU (23 degrees), Srixon Z785 MB (5-PW)
Shafts: Project X HZRDUS Smoke Black RDX 100 6.5 (4), KBS Tour 130 X
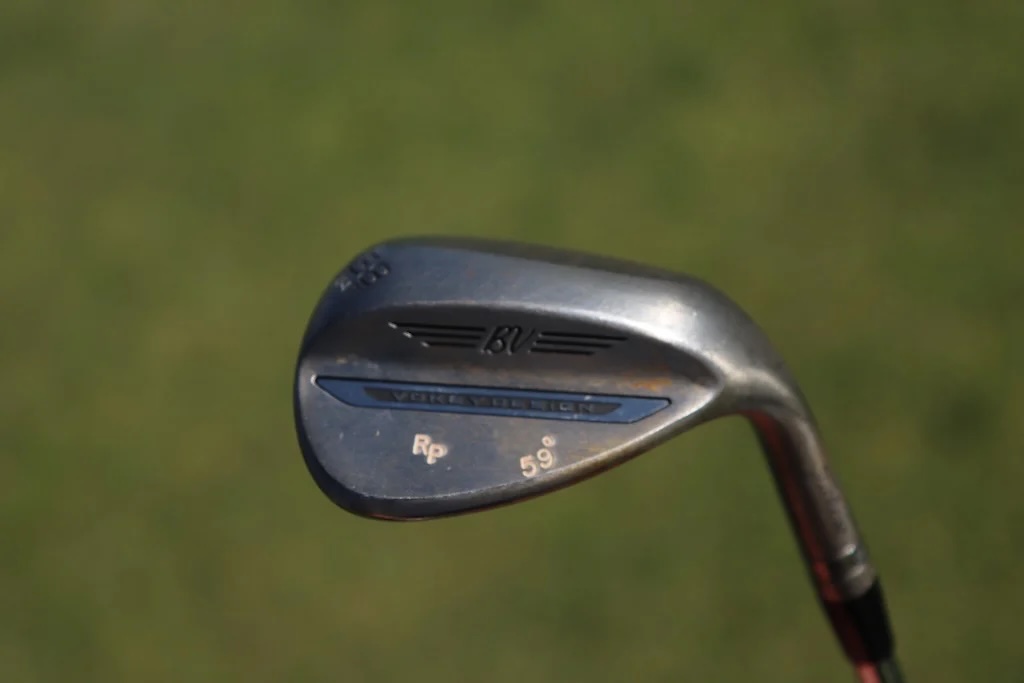
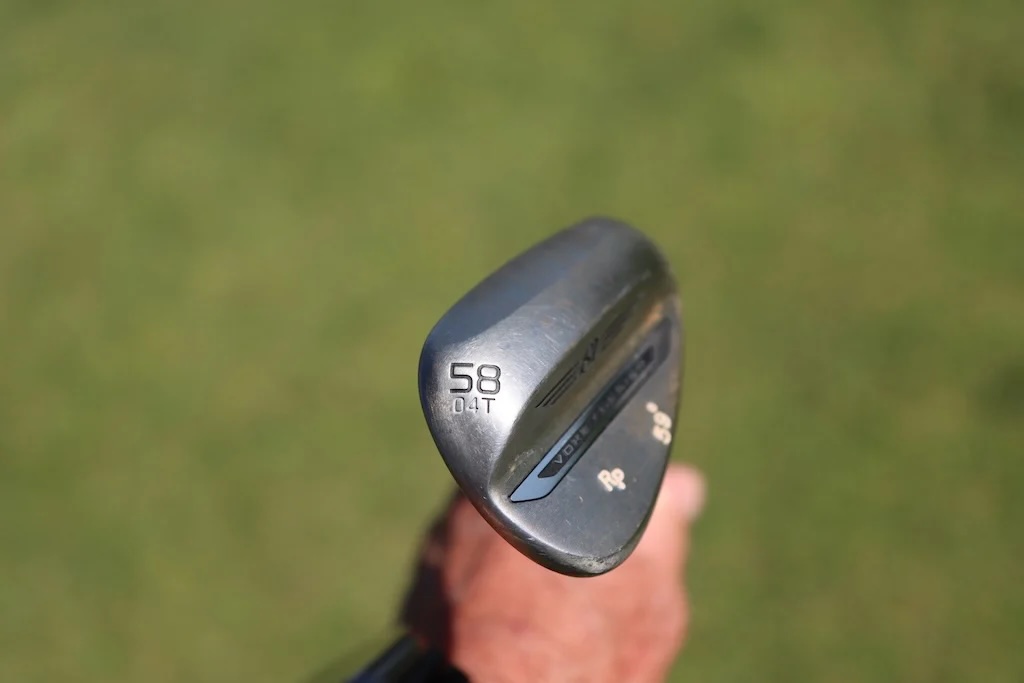
Wedges: Titleist Vokey Design SM11 (50-08F, 54-10S, 58-04T @59)
Shafts: KBS Tour 130 X
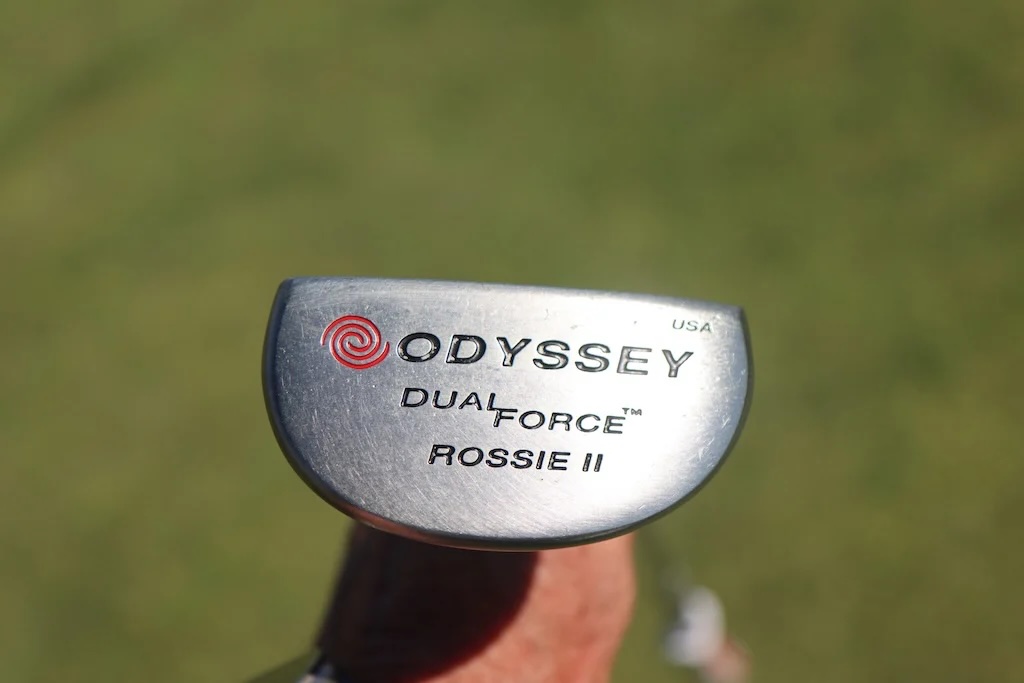
Putter: Odyssey Dual Force Rossie II

Ball: Titleist Pro V1x
Grips: Golf Pride Tour Velvet

This week, we have our Tour Photographer, Greg Moore, on the ground at the OccuNet Classic at Tascosa Golf Club in Amarillo, Texas, for the 14th event of the 2026 Korn Ferry Tour season. With that, we see some great things in the Lead Tape Report as we roll into Amarillo.
Joel Thelen
Monday Qualifier, Joel Thelen is in the field this week. He has played on the Korn Ferry Tour for a full season in 2023, and he is back in action this week. A couple of clubs caught my eye this week in his bag.
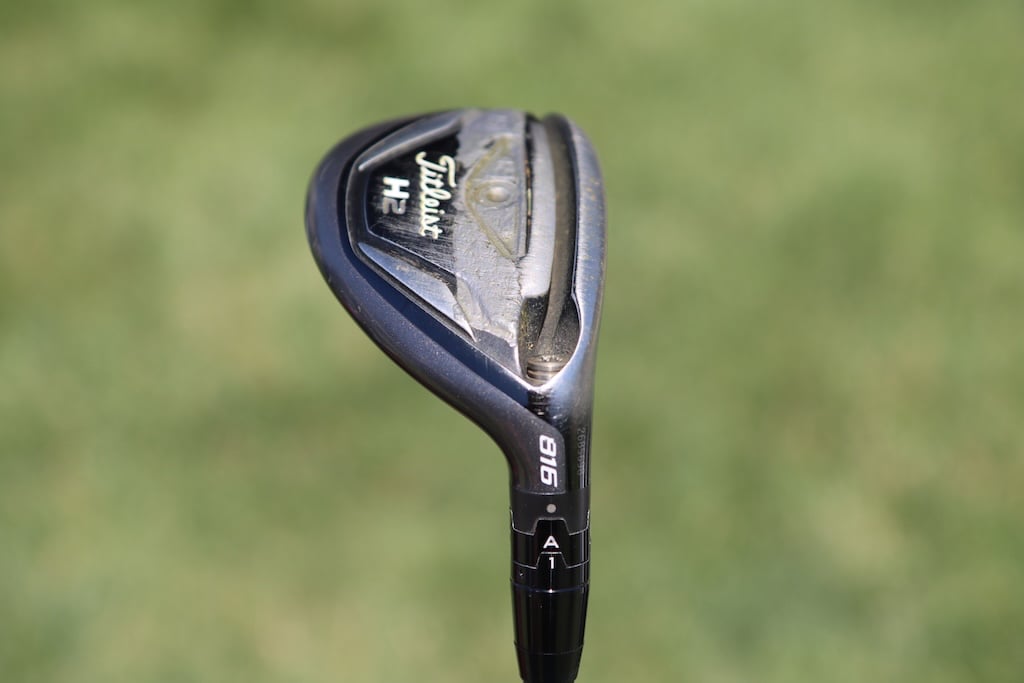
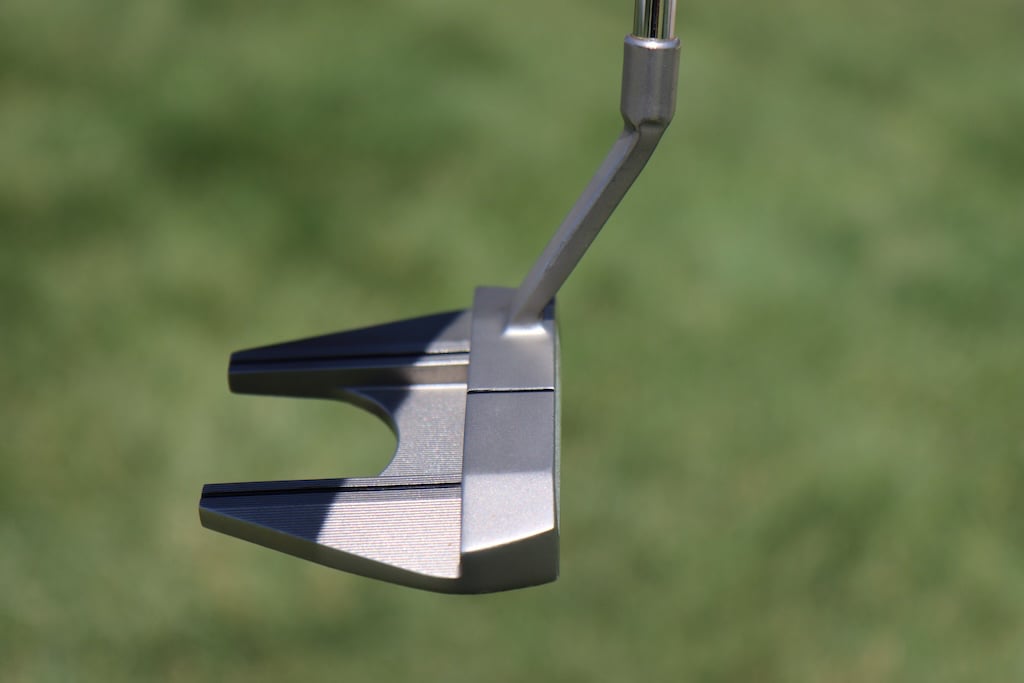
First off: His trusted Titleist 816 H2 hybrid. This club came out in October of 2015, and it still remains strong in the bag. Also, take a look at this Odyssey White Hot OG 7, putting a capital S in the 7S model. This custom neck has some impressive lean for an arm-lock-style putter. The bottom of the putter is covered in tape for optimal weighting.


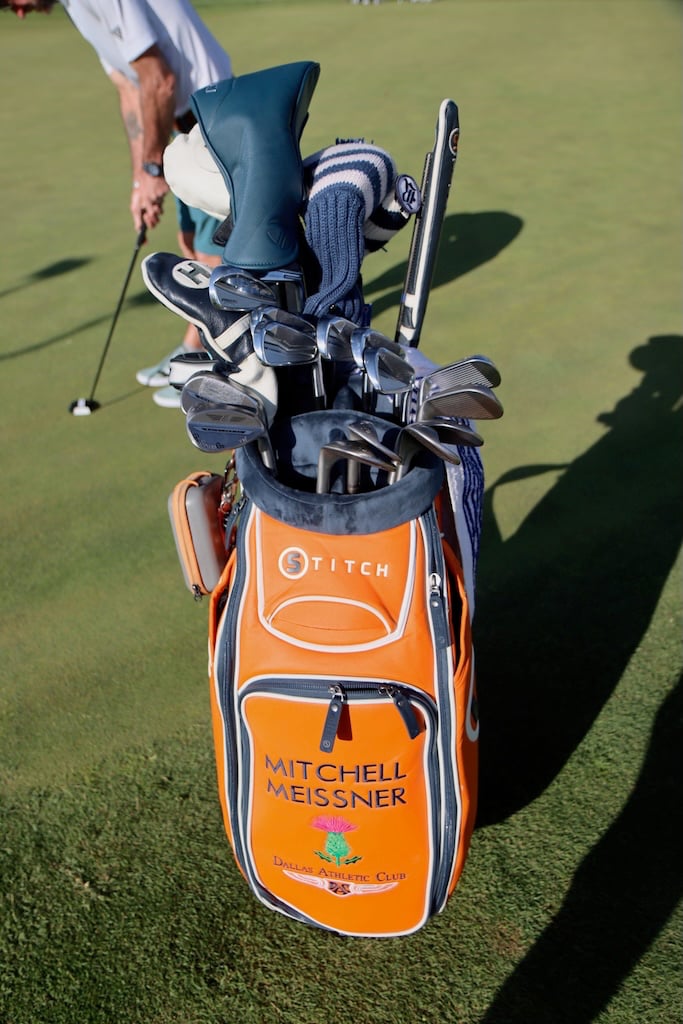
Mitchell Meissner
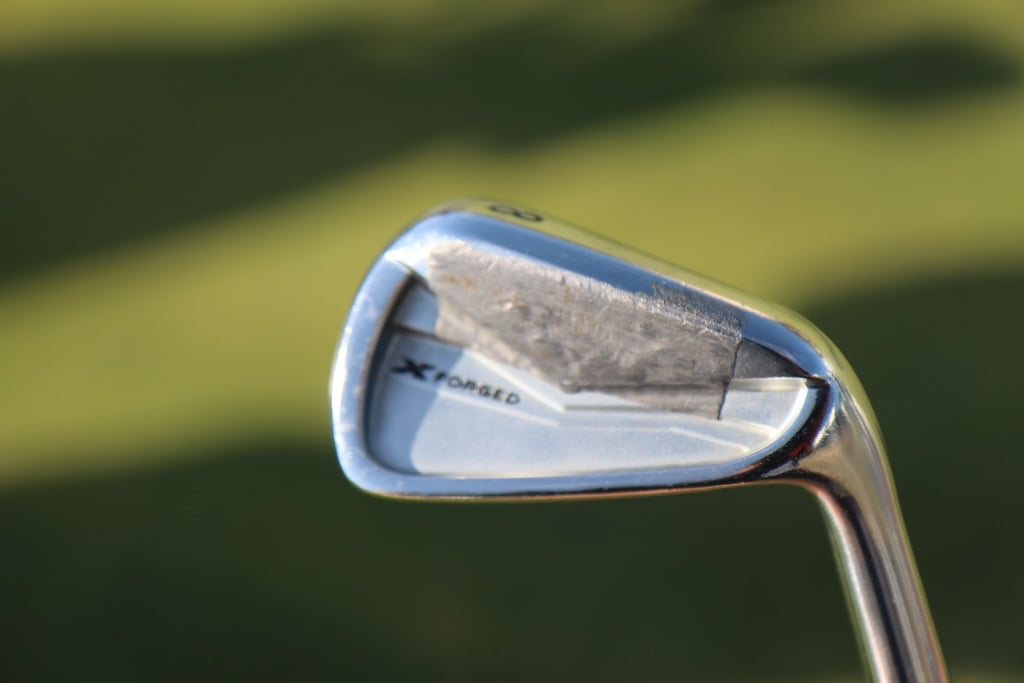
Taking a look at Mitchell Meissner’s bag this week, we have some great lead tape coverage. Top to bottom working from fairway metals, irons, and wedges. We can see on the short irons and wedges that there is tape at the base of the grip, adding a little counterbalance. Along with that, some tape on the short irons and wedges as well. Moving to his putter, he rolls the Odyssey 7 Bird putter. Meissner putts left-handed and strikes the ball right-handed.


Justin Rose WITB 2026 (April): Full WITB breakdown with new McLaren irons

What’s the story behind Webb Simpson’s custom-stamped irons?

Memorial Tournament Tour Report: Rory McIlroy, Cameron Young switch up drivers, and more

Cadillac Championship Tour Report: Spieth’s sizable changes, McLaren Golf launches, and more

Russell Henley’s winning WITB: 2026 Charles Schwab Challenge

Kristoffer Reitan’s winning WITB: 2026 Truist Championship

Best irons 2026: Best irons overall, most forgiving irons, and more

J.T. Poston’s winning WITB: 2026 Memorial Tournament

Aaron Rai’s winning WITB: 2026 PGA Championship

Cameron Young’s winning WITB: 2026 Cadillac Championship


Ryan Palmer WITB 2026 (June)
Driver: Callaway Quantum Triple Diamond (9 degrees) Shaft: Project X HZRDUS Smoke Blue RDX 60 TX 3-wood: TaylorMade Qi10 (15 degrees) Shaft:...


Bud Cauley WITB 2026 (June)
Bud Cauley had >14 clubs in his bag when photographed prior to the Memorial Tournament. Driver: Titleist GTS2 (8 degrees) Shaft: Fujikura...


Hannah Green WITB 2026 (June)
Driver: Titleist GTS3 (10 degrees, D4 SureFit setting) Shaft: Mitsubishi Chemical Diamana RB 53 S 3-wood: Titleist GT3 (15 degrees,...


Asterisk Talley WITB 2026 (June)
Driver: TaylorMade Qi4D (9 degrees) Shaft: Fujikura Ventus Blue 6 S 3-wood: TaylorMade Qi4D (16.5 degrees) Shaft: Fujikura Ventus Blue...
-
 Equipment6 days ago
Memorial Tournament Tour Report: Rory McIlroy, Cameron Young switch up drivers, and more
-
 News2 weeks ago
Russell Henley’s winning WITB: 2026 Charles Schwab Challenge
-
 Equipment3 days ago
Best irons 2026: Best irons overall, most forgiving irons, and more
-
 Whats in the Bag4 days ago
J.T. Poston’s winning WITB: 2026 Memorial Tournament
-
 Equipment1 week ago
Details on Jason Day’s latest prototype Avoda iron setup
-

 Equipment3 weeks ago
CJ Cup Byron Nelson Tour Report: Koepka and Kim’s newest putters finally get hot
-

 News2 weeks ago
Charles Schwab Challenge Tour Report: MacIntyre, Åberg and Spaun all switch putters, TaylorMade launches new Spider
-
 Equipment2 weeks ago
Details on J.J. Spaun’s surprise putter switch
Larry
Jul 23, 2012 at 11:18 am
Man, I prefer to just play golf. The more club battle scars the better!
Joe
Jun 28, 2012 at 11:54 am
Great post. I have been doing this for a few years and the rubbing alcohol tip will come in handy. I have repainted the same area many times due to bubbles in the paint. For translucent paints the Tamiya is very good. For opaque paint I have had great success with nail polish. Don’t be scared to customize your stuff, it’s foolproof and you can keep trying until you get it right.
dtowngolf
Jun 21, 2012 at 7:11 pm
nice i inked all my clubs last year including my r11 driver and 3 wood, if you want to check these out here’s a link. Nice job on the Scotty though
http://www.golfwrx.com/forums/topic/682288-inkedpaint-filled-r11-driver-and-3-wood-and-other-clubs-after-a-year-of-use-still-the-ink-is-in-perfect-shapepics/
dan
Jun 21, 2012 at 1:27 pm
Nice stuff and tell them dodgers to eat one!!!!!!!!